Fact Check
How is Leather Made?
Leather is one of the oldest materials known to man, having been used for centuries for making all manner of items.
Despite this long history, the process of creating leather has changed relatively little since it was first discovered.
Barring modernization and streamlining, manufacturers still create leather in almost the same way.
What are the steps for creating this magnificently supple, attractive, and sturdy material?
Let’s explore these questions and more like them as we delve into the modern manufacturing process for leather.
How to Make Leather in 3 Steps
Overall, leather creation can be broken into three main steps with several smaller steps within each. We’ll break down each one and go to give a clear idea of what each step in the leather making process entails.
Step 1: Preparing the Hide
Before even the tanning process can begin, the hides must be prepped.
Give that a hide starts as a piece of animal skin taken from a carcass, this shouldn’t be too surprising given the vast difference between a piece of leather and the skin attached to a cow.
The first step in preparing the hide involves curing it to prevent it from rotting. This can be done in any number of ways, though salting, freezing, or using chemical preservatives are some of the more common methods.
After curing is complete, the hide is left to soak for several hours in clean water, helping to rehydrate it while also washing off any dirt or debris stuck to the surface.
After Soaking
After the soak, the hide is placed into milk of lime, which is an extremely basic solution meant to loosen and remove hair from the surface of the hide.
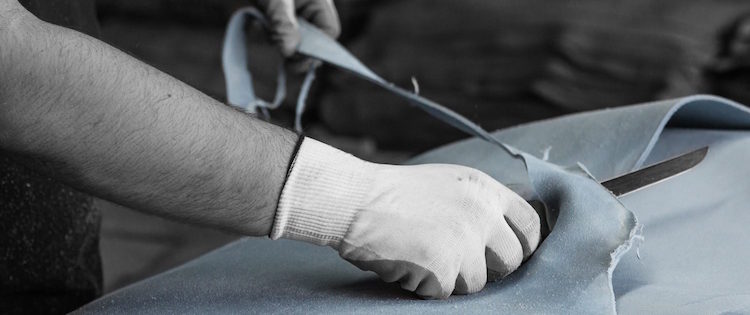
Following that, it is passed through machines that manually pull hair and various bits of flesh from the pelt, with workers sometimes manually removing leftover patches with knives. It might also be split into layers.
Once the pelt has been suitably dehaired, it must be neutralized to avoid unwanted distortion. The hide is soaked in an acidic solution with the temperature gradually raised to help its pH normalize.
Various enzymes are also added to help it relax and eventually become more accepting to the chemicals introduced during the tanning process. After that, though, it undergoes a pickling process using salt, as well as acid depending on the type of tanning a piece of hide will undergo.
Step 2: Tanning the Hide
Once it’s been sufficiently prepped, the tanners can finally move on to the tanning process. But before any chemicals can be added, they’ll first need to decide what tanning process they intend to use on a particular hide.
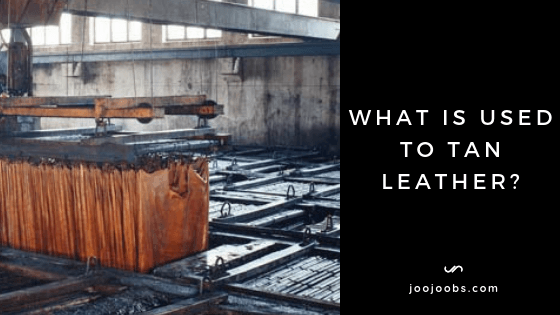
There are two primary forms of tanning commonly used in commercial tanning, those being mineral tanning and vegetable tanning.
Mineral Tanning
Mineral tanning involves certain minerals (most commonly a chromium compound) being dissolved into a hide to start the series of chemical reactions necessary to transform raw hide into leather material.
This process is preferred for making things like clothing, as the leather produced from it is generally softer than other methods. It’s also the fastest way to make leather.
Vegetable Tanning
The second process, vegetable tanning, uses a naturally occurring chemical in plants known as tannins in order to cause the same reactions.
Though still common, this method is less popular due to the increased length of time it takes for the hide to fully transform into leather.
Additionally, the leather produced is often less flexible or soft compared the mineral tanned leather, though it is more water-resistant. As a result, leather made through vegetable tanning is most often utilized in creating things like shoes or luggage.
Splitting
Once the tanning process is completed, the completed leather is cut into two layers (a process called “splitting”) to separate it into a grained side and a non-grained side.
The non-grained side is then shaved using a special machine, with parameters set to create pieces of appropriate thickness and size for whatever the leather is intended to become.
Once the leather has been split and shaved, it is put through further processing to neutralize any of the tanning chemicals placed into it and normalize its pH.
Depending on the intended use for the leather, it may also undergoing a dyeing or styling process to change the look and/or color of the leather.
After the leather has reached its desire color, style, and size, a coating of oil is applied to help the leather stay hydrated, soft, and flexible. As the oils absorb into the material, the surface is smoothed out to create a uniform texture.
Then, the leather will be dried for a period of time until only about 20% of its total water content remains.
Step 3: Finishing the Leather
After the leather has been fully tanned and processed, it undergoes several extra steps known as “finishing” the ensure the quality of the leather made.
Stacking
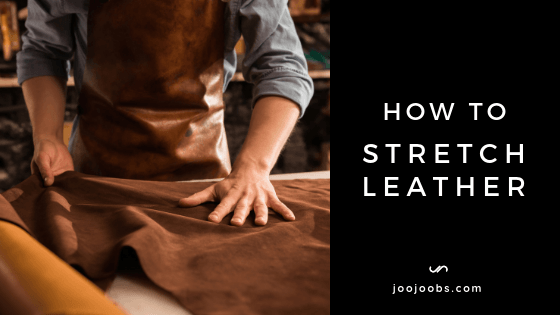
The first step in this process is known as stacking, in which leather is placed in a stacking machine to massage and stretch it, ensuring it retains its softness and flexibility long after it is first made.
Tumbling
Once the leather has been stacked, it is taken to a rotating drum to be tumbled for several hours. Once tumbling has finished, each individual piece of leather will be buffed, either by hand or via a machine.
Buffing
Buffing is used to make the surface of leather feel even softer, and can also be used to gently rub away excess material to thin a piece of a leather down if need be. After buffing, the leather is dusted and brushed off to remove any particles or debris that accumulated as a result of the buffing process.
Finally, true finishing can begin as each piece of leather is inspected and normalized to ensure a consistent level of quality.
Size, color, gloss, and texture are all examined and any remaining bits of grain are buffed away from the surface, and any final cleaning that needs to be done happens.
Once the leather is identified to be in an acceptable state, it is covered in a special chemical mixture that absorbs into the surface of the leather, helping to protect it from damage and making it slightly more water-resistant. With that, the leather is finally considered complete.
Caring for Leather
Beyond the initial manufacturing process, though, is the care required in maintaining the quality of leather.
In order to ensure that your leather good stays in good shape and age well, they must be taken care of regularly to ensure they stay clean, soft, and hydrated.
The easiest way to do this is through proper storage, meaning that you should always keep your leather out of direct sunlight or high heat when put away.
Soft leather clothing should be placed on padded hangers, and pieces like handbags or hats can be packed with newspaper or other items to help them retain their shape.
Leather Conditioner
Finally, to help rejuvenate an old piece of leather and keep your cherished items looking good well into the future, a quick buffing with a lint-free cloth and a generous amount of leather conditioner can do the trick.
Leather conditioners are specialized formulas filled with many of the essential oils and minerals leather needs to stay supple and beautiful that can be naturally lost over time due to use.
Always remember, though, to test any kind of leather conditioner on an innocuous spot on your leather item before applying it to the whole product, as there is a chance certain conditioners may adversely affect the health and appearance of certain leather pieces.
Final Thoughts
It takes many hours and a lot of work to make the leather goods we use and enjoy every day.
To show your appreciation for the fine craftsmanship that goes into their creation, remember to treat your leather with respect and maintain and care for it regularly.
Leather is nothing without the effort that goes into making it, so don’t squander that by mistreating it.

